Creating a YouTube channel can seem like a daunting task if you’re just getting started, but it doesn’t have to be. Whether you’re setting up a new channel for business or personal use, this step-by-step guide will walk you through everything you need to know in 2025. From setting up a Google account to customizing your channel settings, we’ll cover all the essential details to get you started on your YouTube adventure!
Getting Started: Creating a YouTube Account
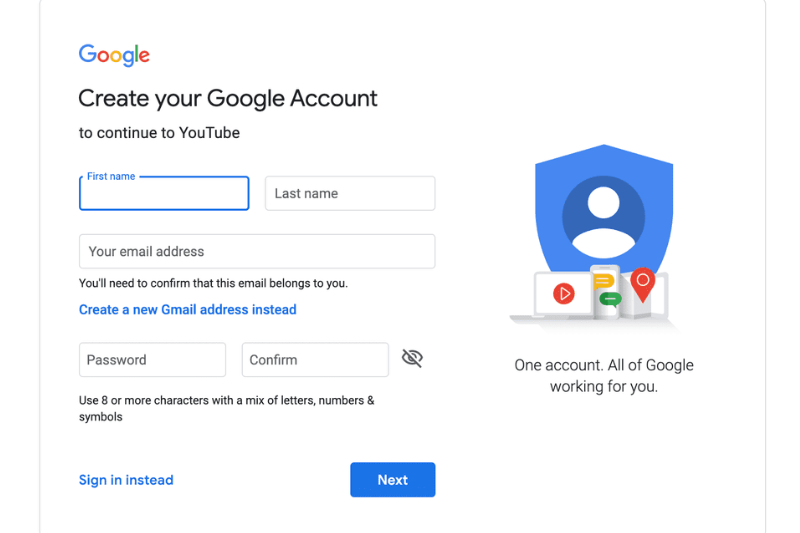
Before you can create a YouTube channel, you’ll need a Google account. Since YouTube is owned by Google, this account will give you access to all YouTube features.
- Go to youtube.com: and click the sign-in button in the top right corner of the page.
- Create a Google account: if you don’t have one already. In this guide, we’re going to set up an account for work or business, which we’ll explain shortly.
- Set up your password: Make sure it’s secure—don’t use a simple password.
- Verify your account: You’ll need to enter a phone number to help secure your account, which is essential for your YouTube channel later on.
Creating Your YouTube Channel

Google Account
Once you have your YouTube account, you can start setting up your channel. This is where the fun begins!
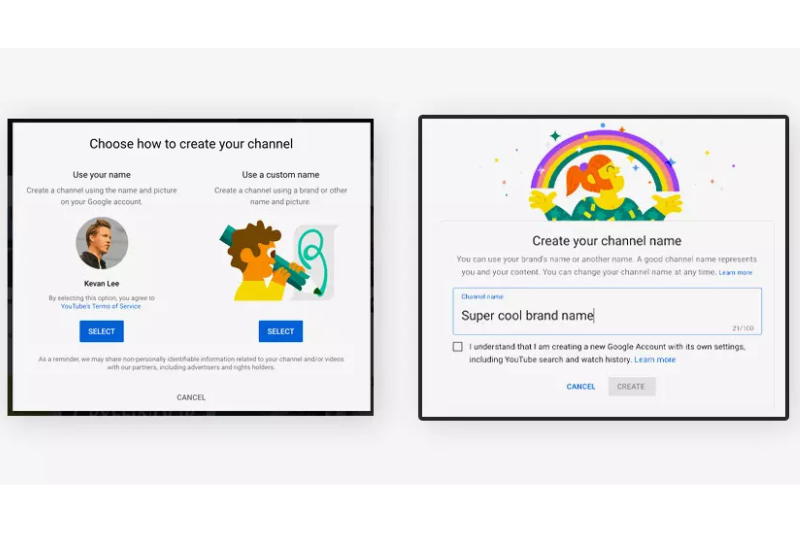
Choosing a Channel Name & Handle
- Channel Name: This is what viewers will see on your channel homepage and under video thumbnails. Pick something unique, memorable, and easy to spell.
- Channel Handle: This is like your social media username on YouTube and is used in the URL (e.g., youtube.com/yourhandle). Handles must be unique, but you can always change them later.
You’ll also need to upload a profile picture that’s round and fits YouTube’s guidelines.
Essential Channel Settings
With your channel set up, it’s time to dive into the key settings that will shape your YouTube experience. Follow these steps to ensure your channel is secure and optimized for future growth.
Choosing a Channel Name & Handle
Go to Settings > Channel > Feature Eligibility. To unlock important features like:
- Uploading videos longer than 15 minutes
- Adding custom thumbnails
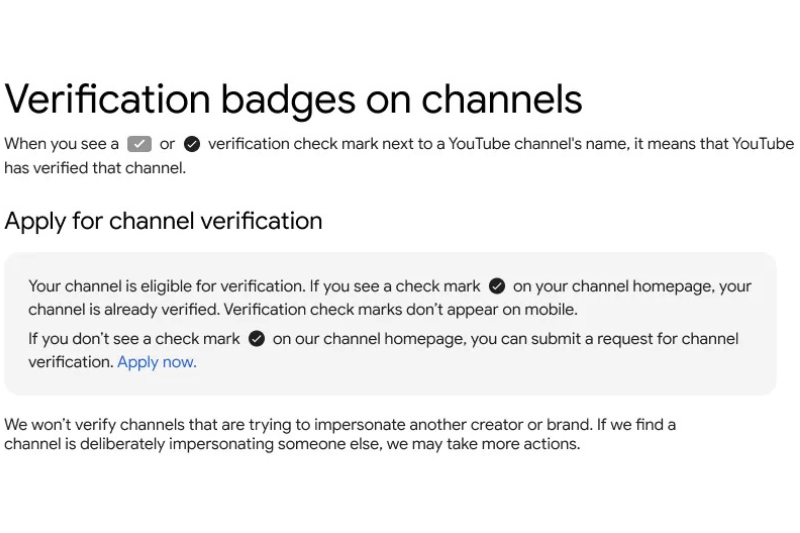
Verification requires a phone number, but it’s worth it for securing your channel and unlocking future features like monetization.
Upload Defaults & Video Visibility
Under Settings > Upload Defaults, adjust the visibility setting to either Unlisted or Private. You’ll never want your videos to be public automatically after uploading, as you need time to edit titles, descriptions, and thumbnails.
In the Advanced Settings, if your content is aimed at children, make sure to specify this. Misidentifying your content can lead to major consequences for your channel, including termination.
Managing Permissions
Under Permissions, you can invite others to help manage your channel. This feature is crucial as your channel grows and you need more people to assist with content creation or management.
Customizing Your Channel
Channel Description
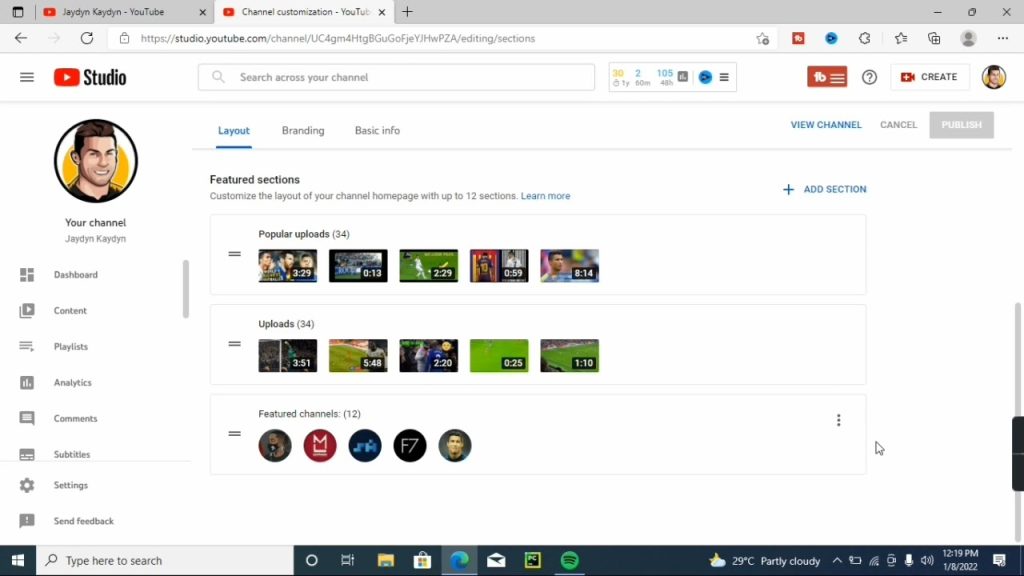
In the Basic Info section, add a compelling description. The first 80 characters will appear in search results, so make them count. Avoid talking about yourself; instead, focus on the value your channel provides to viewers. Include relevant keywords to help YouTube understand your content.
Branding Your Channel
Your channel banner is the first visual impression viewers get of your channel. Keep it simple and ensure it reflects your content’s theme and style. Make sure important elements are centered to avoid them getting cut off on mobile devices.
Your video watermark is a small graphic displayed in the bottom right corner of videos. It’s a call to action for viewers to subscribe but isn’t as effective as other strategies, so don’t worry too much about it at this stage.
Securing Your Channel
Contact Info
Make sure to set up an email address for contact, but remember, don’t use the same email you use to log into YouTube. This keeps your account more secure.
Two-Factor Authentication
Enable two-factor authentication for added security, especially if you plan to monetize your channel in the future. This step protects your channel from unauthorized access.
Preparing for Monetization
Once your channel has grown and you’re meeting the requirements, you’ll be able to monetize your content. The Monetization section in YouTube Studio tracks your progress and shows you when you meet the necessary criteria. You can start earning through ads once you qualify.
Pro Tips for YouTube Success
As a beginner, it’s easy to get overwhelmed, but focus on these four pro tips to stay on track:
- Be Focused: Know who your target audience is and why they should watch your videos. This helps with creating a clear value proposition.
- Curiosity & Emotion Over SEO: Titles and thumbnails matter more than you think. Focus on sparking curiosity and emotion rather than just relying on SEO.
- Create Eye-catching Thumbnails: Thumbnails are your first chance to grab viewers’ attention. Spend time crafting them alongside your video content.
- Get Creative: Don’t just watch YouTube videos about creating content—actually create! Experience will make you a better creator.
- Your account: You’ll need to enter a phone number to help secure your account, which is essential for your YouTube channel later on.
Final Thoughts: Time to Start Your YouTube Journey!
Now that your channel is set up and optimized, it’s time to make videos people will want to watch. Your journey as a creator is just beginning, so don’t be afraid to experiment and learn from your experiences.
Remember, nothing beats hands-on experience. Keep creating, and before you know it, you’ll be a YouTube pro. Welcome to YouTube—now go out and change the world!
